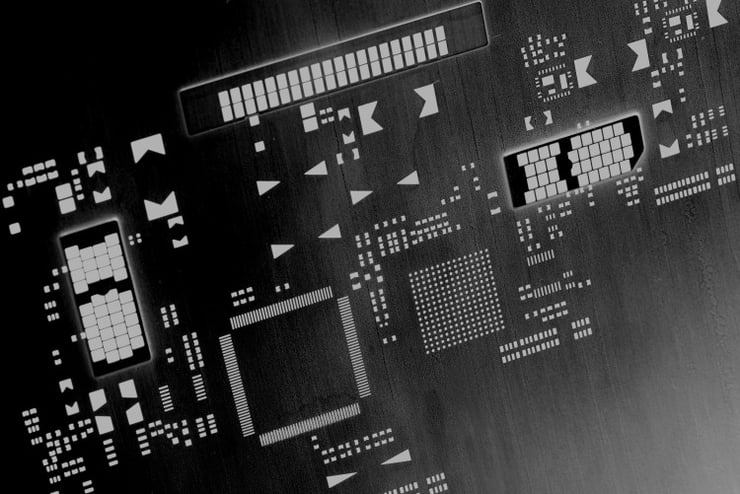
3 manufacturing techniques you should consider to make SMT stencils
Feb 21, 2017 7:00:00 AM By Gareth PhillipsAn SMT stencil is more than just a sheet of metal used to deposit solder paste. It’s the single most important tool in every surface mount assembly line. As PCB's get more technologically advanced stencils must run adjacent with them. As a result each stencil is made to produce the best possible results. As an engineer, you want your stencils to be of outstanding quality to ensure qualitative production. You can use 1 of 3 manufacturing methods to produce your SMT stencils. In this blog we describe the 3 technologies available, and when you should be using which technology.
1) SMT stencils through laser cutting
You can use laser cuttingto create stencils from the following materials:
- Stainless steel 302/304
- Fine grain stainless steel
- Nickel
Precision etching can also be used to make SMT stencils from these materials, but the turnaround time with laser cutting is quicker. Sometimes, laser-cut SMT stencils can even be produced and shipped within one working day. Laser-cut stencils are more accurate for fine pitch and small Csp components as the finished size is more controllable.
Laser-cut SMT stencils are napped and brushed cleaned to remove any burring that may occur during the laser cutting process. On the newest lasers the cutting beam is 0.025mm, which can achieve a smooth wall.
You can use your own laser to form stencils out of rolled sheets of stainless steel, for instance. Another option is electroformed sheets. You can utilize a microfabrication partner to create the electroformed sheets for you. For a fast cost effective solution then laser-cut is the stencil of choice. 99% of stencils are now laser-cut.
2) SMT stencils through precision etching
As said, precision etchingcan also be used to create SMT stencils from the following materials:
- Standard stainless steel
- Fine grain stainless steel
- Nickel
The only time you should opt to etch, however, is when a multi-level blank is required — and even then the apertures are laser cut. The etch process for apertures is restrictive in that the minimum size achievable is related to material thickness. The minimum size for an etched aperture would be around 1 ½ * the material thickness. This is not a problem with a laser cut stencil.
3) SMT stencils through electroforming
Electroformed stencils have always been the best choice to create SMT stencils, but since the newer lasers with the 0.025mm beams have become available the laser cut nickel stencil is a suitable alternative. Full electroformed stencils are costly and take longer to produce.
As mentioned previously, burring is not really an issue. A laser cut stencil shouldn’t cause a problem in this area, providing the post cut process has been correctly applied.
Now that you’ve read up on the 3 different techniques to create SMT stencils with, here’s a comparison overview:
|
Precision Etching |
Electroforming |
Laser Cutting |
|
|
|
|
|
● aperture size from around 1 ½ * material thickness. ● standard stainless steel, fine grain stainless steel, nickel ● multi-level capability: multiple steps (4 or more) possible, additive and recessed possible ● applicable to all variants, Genesis, Vector guard, Tetra
|
● aperture size from 50 µm ● thickness from 26-300 μm ● spacings from 50 μm to several mm’s ● stress-free material nickel ● multi-layer possibility, both step up and step down ● applicable to all variants, Genesis, Vector guard, Tetra
|
● aperture capability from 50 µm ● stress-free material, stainless steel 302/304, fine grain stainless steel, nickel ● applicable to all variants, Genesis, Vector guard, Tetra ● multi-level capability: multiple steps (4 or more) possible, additive and recessed possible
|
If you would like to receive a quote for the creation of your SMT stencils, you can request yours here:


